Garrattfan's Modelrailroading Pages
NS 6200 class
Painting and lining NS6200
| The building of the loco cotinued slowly in 2013. Then domestic issues (good and bad) required my attention. After a long pause I picked up this model again to paint it starting from February 2015. | |
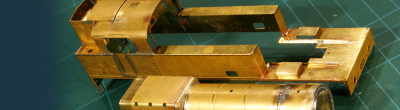
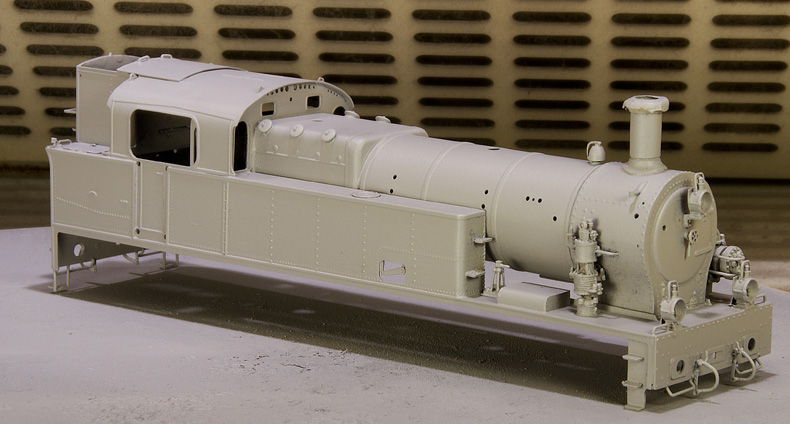
Applying a base coat was done quickly.
I use Alabastine Spuitplamuur (Spray Filler).When used with some care this stuff is great. It spreads easily over the model and the thinnest of layers is enough as a base coat. No need to eliminate transparant areas as long as this area has a thin breath of it. The only risk you have is overdoing it, it is a spray can so there is a tendency to drown your model if your hand is slower than your pressing finger. |
|
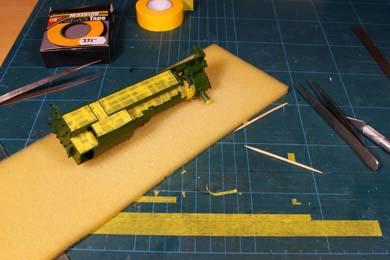 |
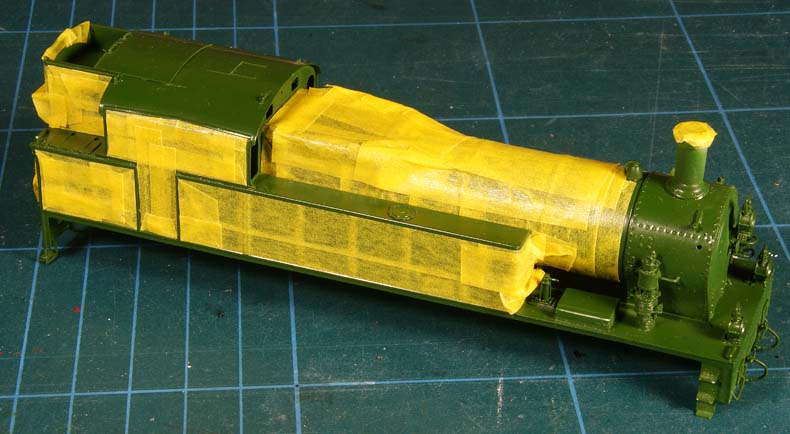
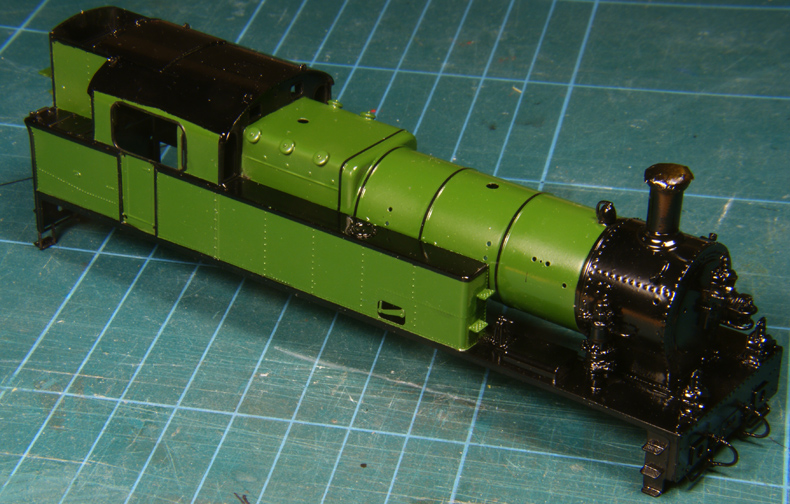
After an equally quick spray with Philotrain steam locomotive green a started masking. It took me about three hours. That is tedious work!! There must be a way to do that quicker. |
Done, ready for black! It let the model rest for a few days. In the meantime I worked on spraying the SHM26 black. The black was new to me. I had recently bought it from Phildie and I had not sprayed any model with it yet. One thing I have learned from what precious little experience I have with air brushing is that it is inviting Murphy when applying an unknown paint on your most precious project. So I practised with the black in the SHM26, found out there how to handle this new paint (and actually had to redo the model), and only then returned to the NS6200. I must admit I was bit anxious about it. There is a good three hours of masking in this model, it had to be First Time Right.
|
|
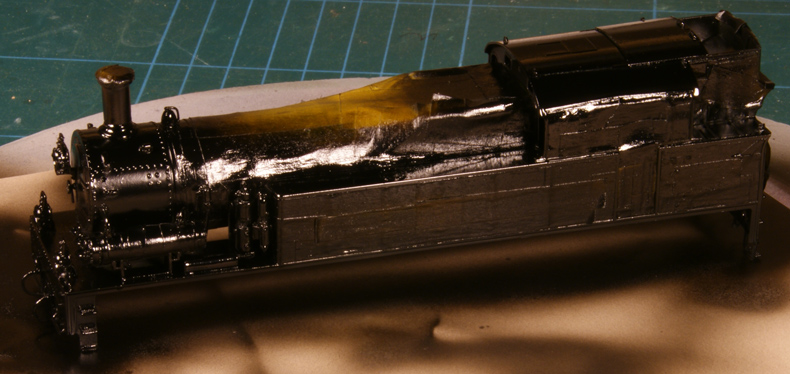
Painted in black, the masking has yet to give away its secrets. Success or fail?
The painting itself went pretty well. I managed to spray a nice even layer-by-layer coat, without grainy texture, without splattering or any other mischief. In some places I found the layer a bit too thick but the end result was good enough.
|
|
The moment of thruth: peeling off the masking. First impression was encouraging.
|
|
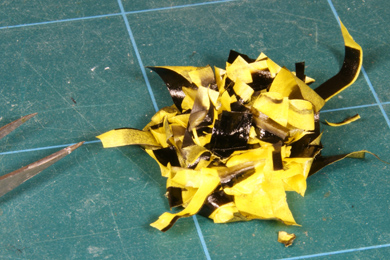
I worked my way around the model, leaving me with a pile of discarded masking tape.
It is extremely delicate work, you must be in a state of mind for it. Strips of masking tape are usually peeled off with the tweezers. Ok, but where to start? There is one prime principle:
Work as far as possible away from the vulnerable paint layer.
If you have two pieces of masking tape overlapping, it is easy to dip the tweezer below it, use the protection of the lower layer, and fetch the upper masking tape. It is a good strategy to start with the second lowest layer of masking tape. You can pick it up without getting to the paint layer and while pulling it off it ususally partly or even completely takes away the higher layers. If the higher layers come away only partly even then you have can take advantage of the "ear" curls that spring up when taking away the lower layer. This enables you to work as distant as possible from the paint . Whatever you do there is always a lowest layer. See if there is any hold you can get, a crumple or crease. As long as it is there, you can use the tweezers to pick it up. But sometimes even that life line is not there. That &%&%$ masking tape is entirely flat on the paint. In such cases I take a scalpel with a fresh no 11 blade (really!) and carefully slide it under a corner of the masking tape, just a few thens of a millimeter and jut above the paint and lift the tape. From there the tweezers can do their work. It is nerve wrecking but with a steady hand it works. |
|
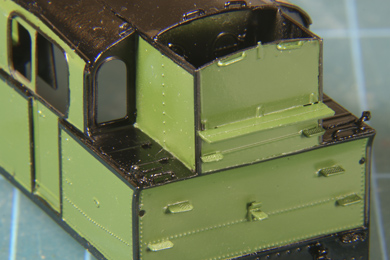
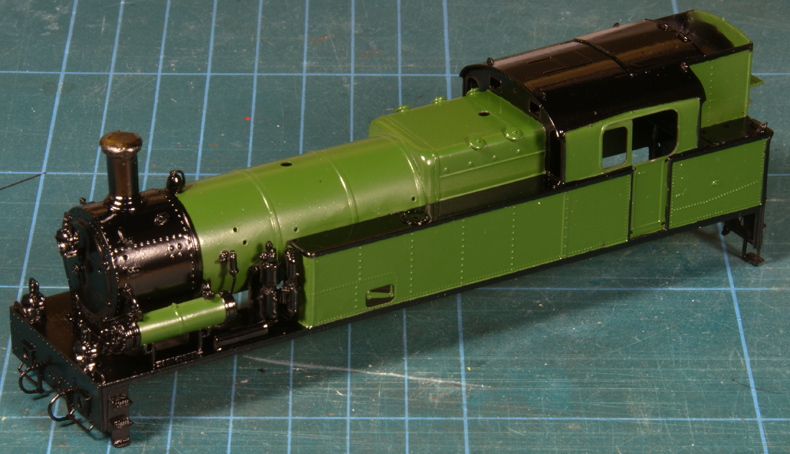
Unmasked
So far I had not masked any model to this extend. The masking proved to have been a good job. There was little bleeding. No, it was not perfect, there are some small issues, but generally speaking, yes I'm happy with it. Next step is getting the remaining black lining on. |
|
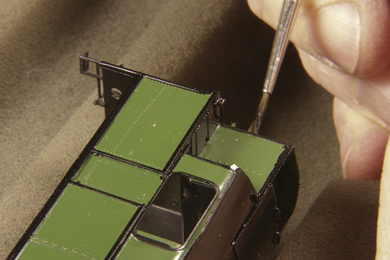 |
The few places that I could not mask correctly were hand painted with Revell paint.
Philotrain paint can't be painted with a brush. The advantage of Revell is that it is white spirit based. This does not dissolve the Philotrain paint. So you can work on the lining as much as you want. If you don't like the result, wipe it with a swab soaked in white spirit, let it dry and start over again without the risk of disturbing the previous layers. |
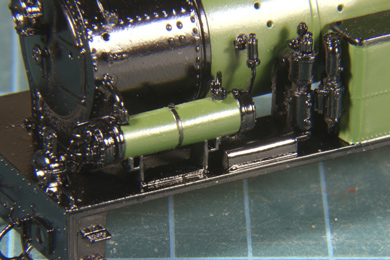 |
Even that small band on the feedwater heater was hand painted. Not perfect but from a normal viewing distance absolutely passable. |
 |
|
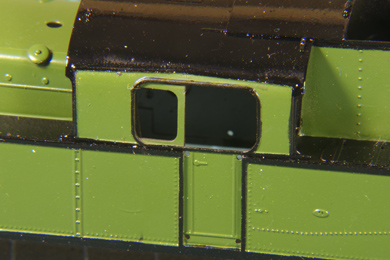 |
Its not all perfect though.
When making photos after drying I found some signs of bleeding, both from the sprayed black as well from the hand painted black. I need to find a way to correct each of these issues. |
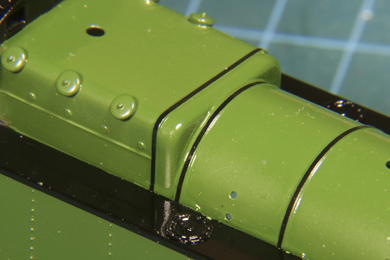 |
I added the boiler bands on the form of decals.
These decals were cut from Micro Scale no 91112 'Striping 1" and 2" width Black'. Frankly the 2" bands were a tad too narrow but I decided to accept that for the sake of the project's advance. Getting other stripes would take at least a week. I must admit I am usually not very charmed by oversized boiler bands. I like this modest appearance.
Applying decals is described in detail in my Shay project |
|
|
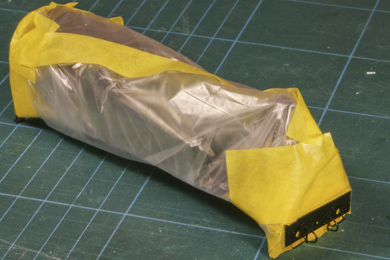 |
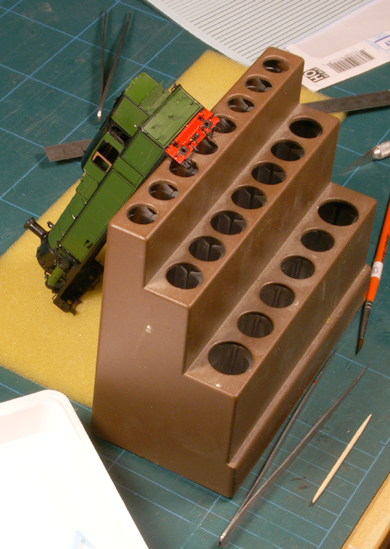
Next the model was masked again to leave only the buffer beams exposed
The finer work was done with small strips of masking tape, cut to width in situ. Then they were extended with wide strips of masking tape, with which I needed not to be too accurate as long as they touched well on the small strips. Next the entire model was wrapped in plastic foil (a sandwich bag) that on its turn was attached to the wider strips of masking tape. |
 |
Done!
Masking took an hour, spraying was a matter of minutes |
 |
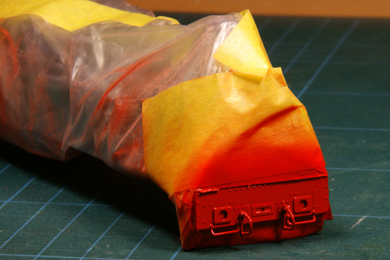
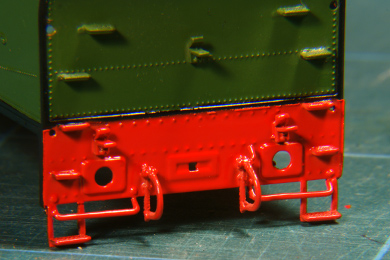
The result
I have sprayed the red a bit too liberally. There are edge marks of the paint creeping up against the masking tape. Another experience gained. The detail has lost some of its crispness. |
|
The paint is also too thick here.
It'll do, nothing serious. Next loco better |
|
|
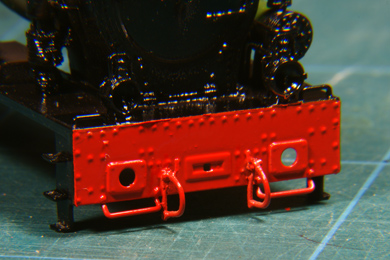
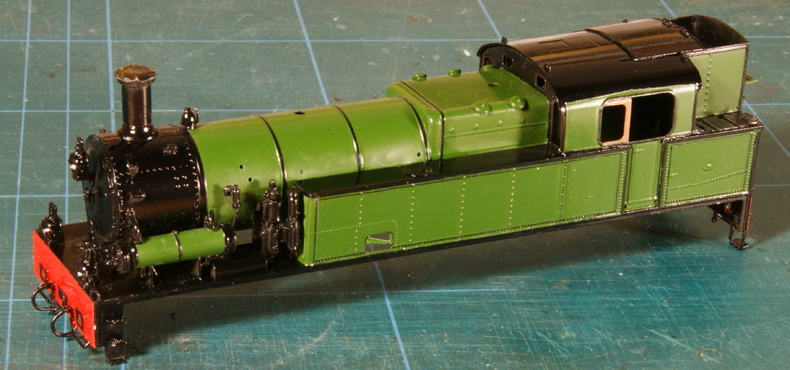
Now lining can start. The sides are already done, the rear is the more difficult part. |
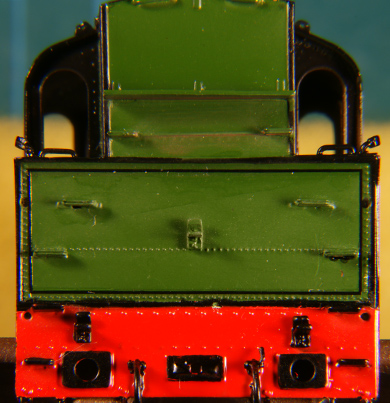 |
Not bad at all |
Boiler bands and bunkers lined |
|


Sign my
GuestBook